

How to Connect Wallet using Rainbow Kit with Next.js

Hey, I'm Jossif and I am a Full Stack Developer. I'm currently transitioning into Web3! I believe smart contracts and Blockchain technology will change the Internet for the better
The best way to connect a wallet - RainbowKit
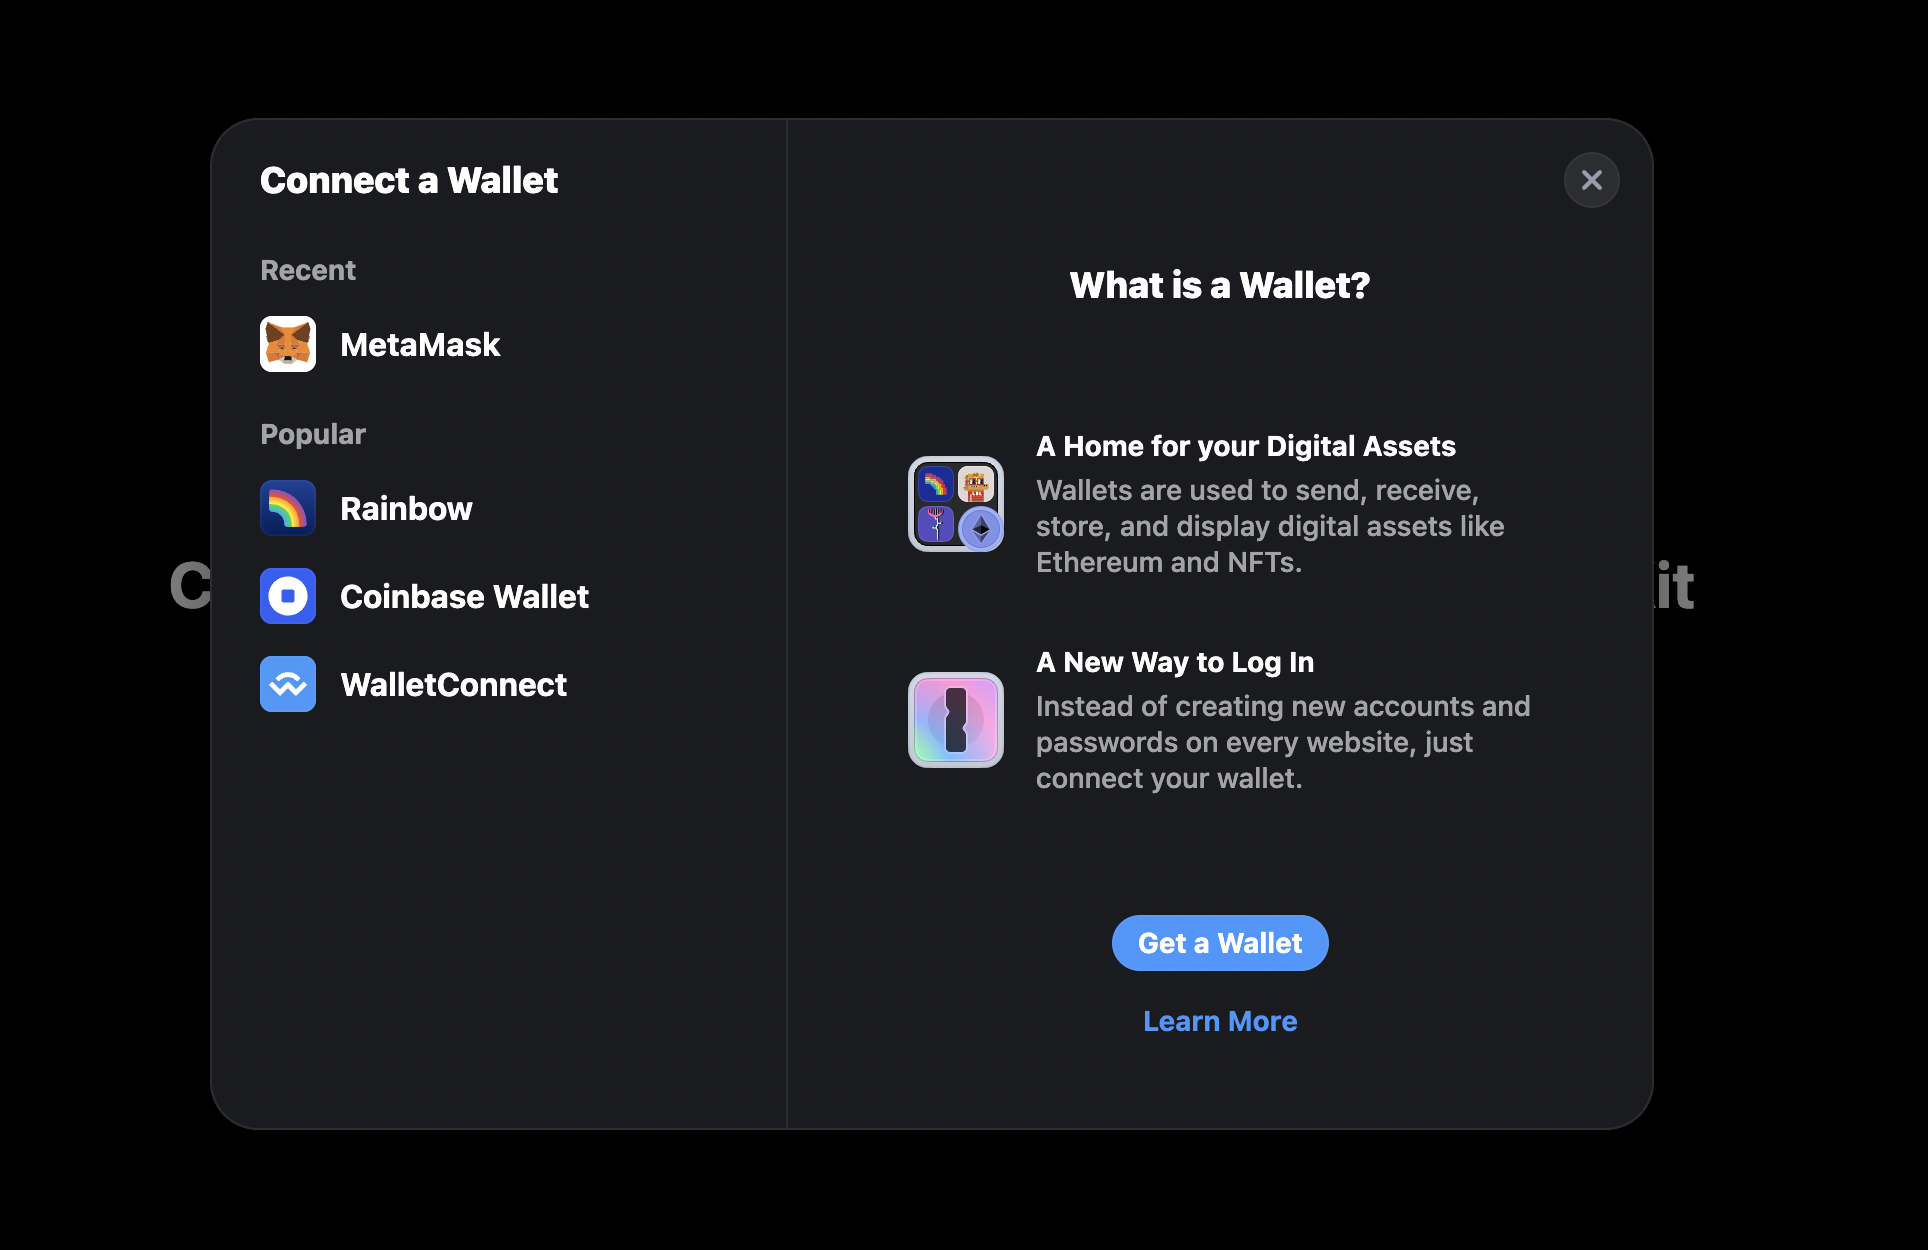
In my opinion: I haven't found a better looking UI for connecting your wallet in a beautiful way and as simple as it is with RainbowKit.
Making a Web3 authentication isn't that hard, but supporting all wallets and making a good UI can be really time-consuming. Today I'm gonna show you how to integrate RainbowKit with your Next.js app.
What is RainbowKit?
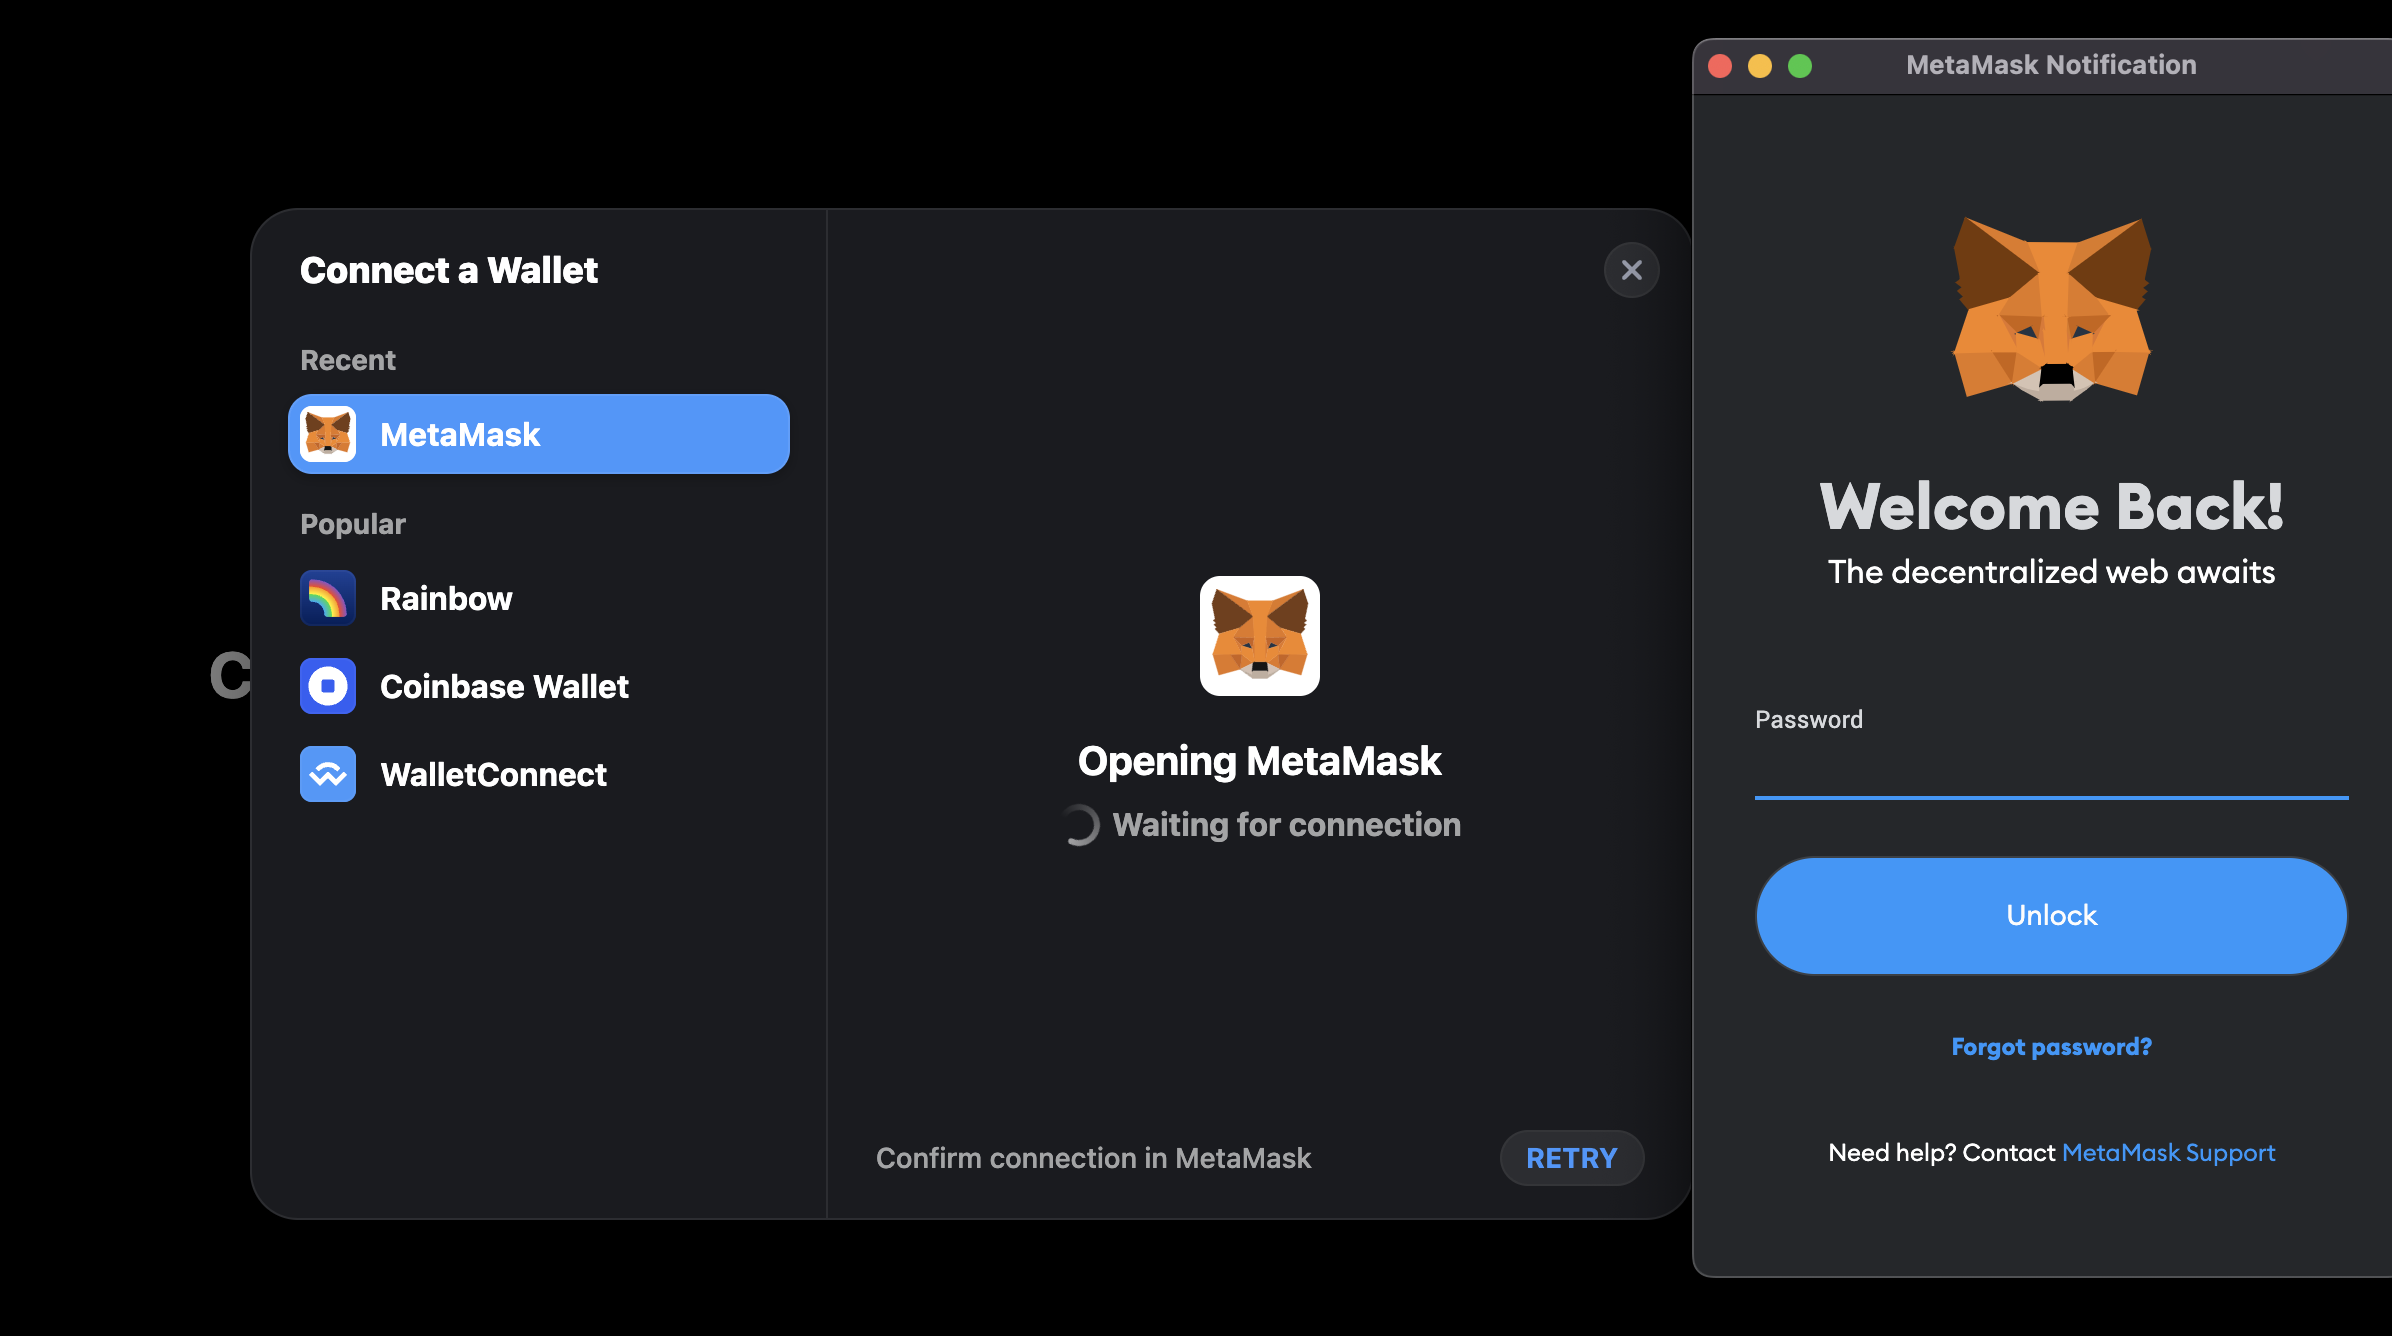
RainbowKit is a React library that makes it easy to add wallet connection to your dapp, and it supports wallets such as Metamask, Rainbow, CoinbaseWallet, WalletConnect, and many more.
It uses popular libraries in the Web3 space such as Ethers.js and Wagmi.
✅ Out-of-the-box wallet management
✅ Easily customizable
✅ Built on top of wagmi and ethers
What is Next.js?
Next.js is a React framework that gives all the features you need for production.
Setup a Next.js project
Run the following command
# npm
npx create-next-app@latest
# or yarn
yarn create next-app
Installing RainbowKit to our Next.js app
# npm
npm install @rainbow-me/rainbowkit wagmi ethers
# or yarn
yarn add @rainbow-me/rainbowkit wagmi ethers
Add RainbowKit to our app
Now go to pages/_app.js and replace all the content of the file with the following code
import "../styles/globals.css";

import "@rainbow-me/rainbowkit/styles.css";

import {
  getDefaultWallets,
  RainbowKitProvider,
  darkTheme,
} from "@rainbow-me/rainbowkit";
import { chain, configureChains, createClient, WagmiConfig } from "wagmi";
import { alchemyProvider } from "wagmi/providers/alchemy";
import { publicProvider } from "wagmi/providers/public";

const { chains, provider } = configureChains(
  [
    chain.mainnet,
    chain.goerli,
    chain.rinkeby,
  ],
  [alchemyProvider({ alchemyId: process.env.ALCHEMY_ID }), publicProvider()]
);

const { connectors } = getDefaultWallets({
  appName: "My RainbowKit App",
  chains,
});

const wagmiClient = createClient({
  autoConnect: true,
  connectors,
  provider,
});

function MyApp({ Component, pageProps }) {
  return (
    <WagmiConfig client={wagmiClient}>
      <RainbowKitProvider theme={darkTheme()} chains={chains}>
        <Component {...pageProps} />
      </RainbowKitProvider>
    </WagmiConfig>
  );
}

export default MyApp;
We start with import the styles from RainbowKit, along with some RainbowKit and Wagmi functions that lets us configure our chains.
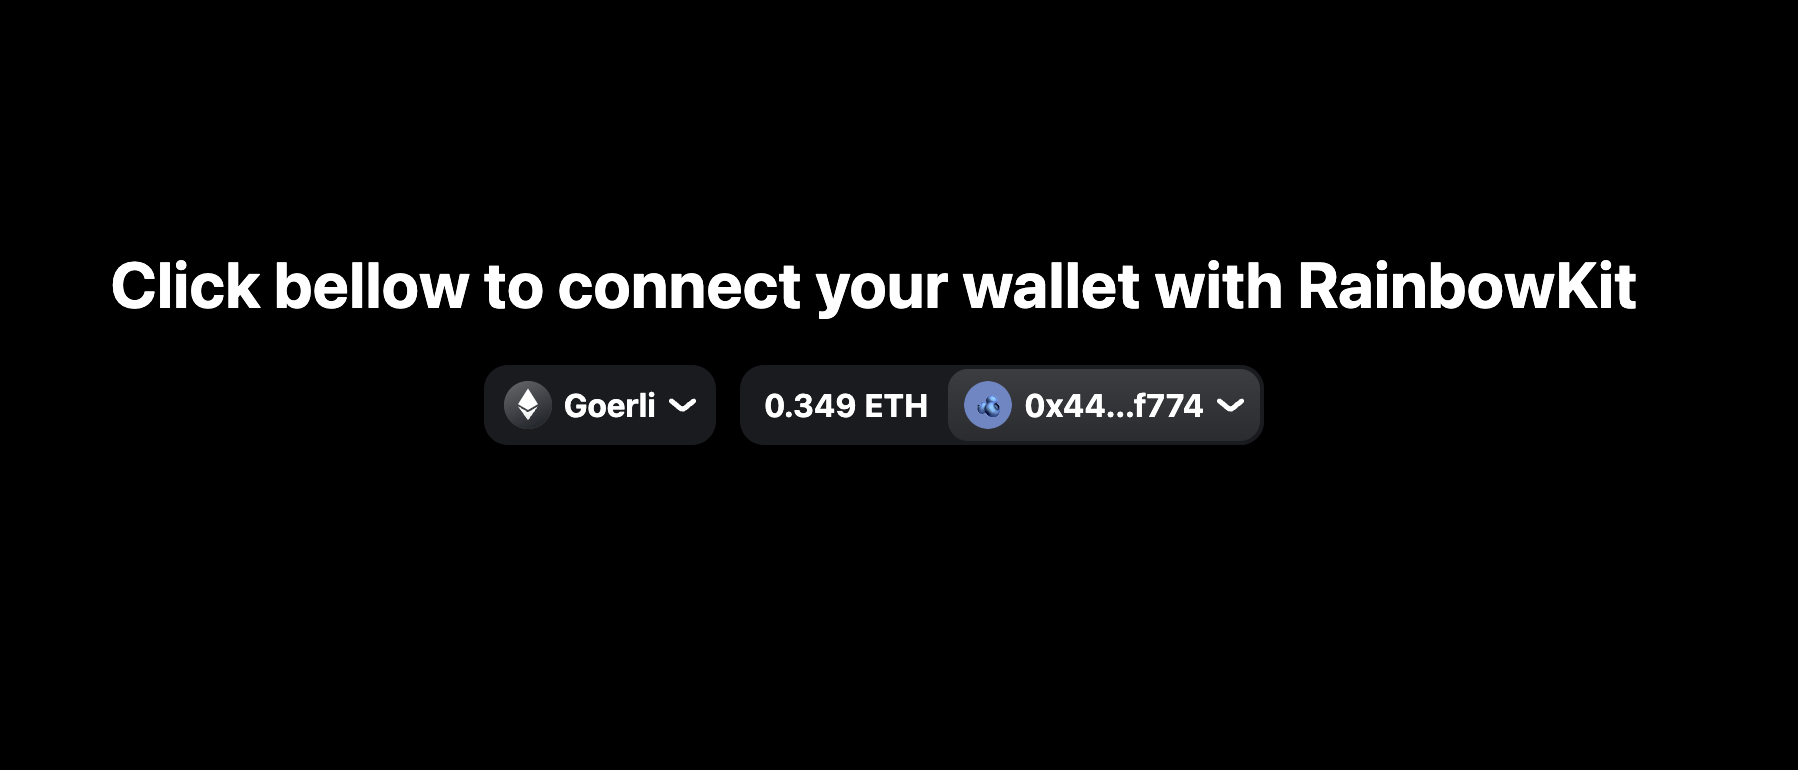
configureChains accepts an array of chains and an array of providers, so we configure the chains we'd like to support. This will of course vary depending on which networks you'll focus on but in our case I have added the Ethereum Mainnet, Goerli Testnet and Rinkeby Testnet.
Then we setup a wagmi client, passing autoConnect and setting it to true so that our app automatically reconnects.
And then, we wrap our application with RainbowKitProvider and WagmiConfig.
Add the connect button
Now let's import and render the Connect Wallet button. Go to pages/index.js and replace all the content of the file with the following code
import { ConnectButton } from "@rainbow-me/rainbowkit";
import styles from "../styles/Home.module.css";
export default function Home() {
return (
<div className={styles.main}>
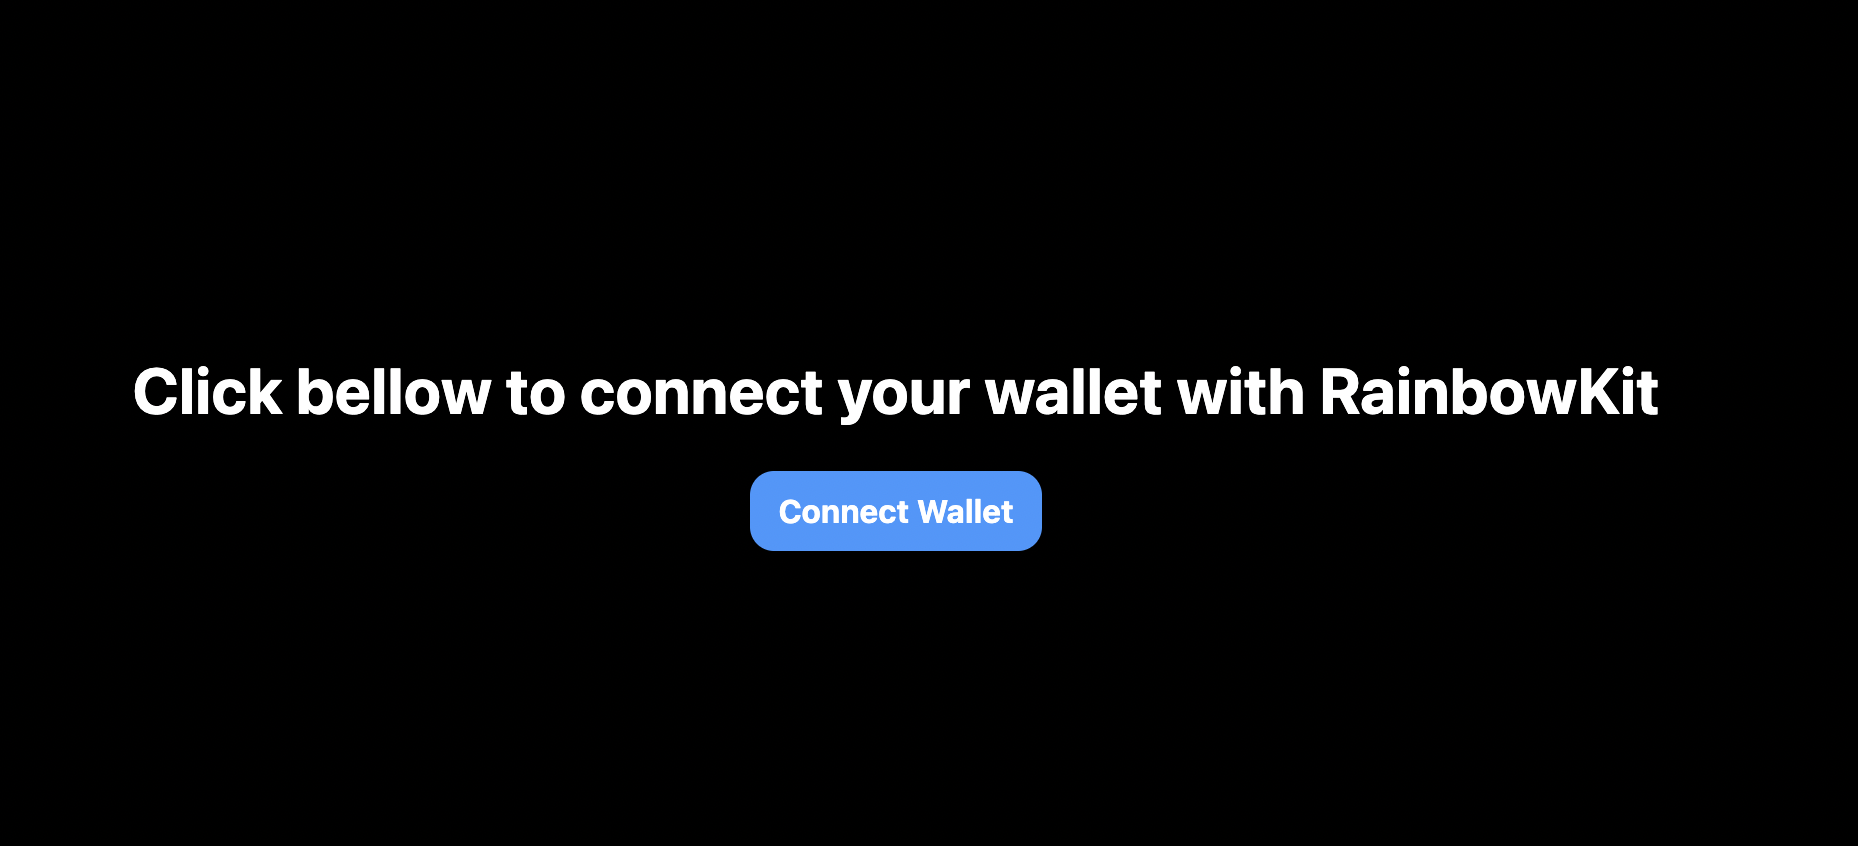
<h1>Click bellow to connect your wallet with RainbowKit</h1>
<ConnectButton />
</div>
);
}
To make our app look somewhat good, go to styles/Home.module.css and replace all the content of the file with the following code
.main {
  display: flex;
  flex-direction: column;
  justify-content: center;
  align-items: center;
  min-height: 100vh;
}
This will just center all of the content.
Now run npm run dev or yarn dev and open localhost:3000 to test the application.
It should look like this.
Themes & Modes
RainbowKit makes it really easy to use themes or modes that has cool animation. You can find everything in their documentation. In this guide I've used darkTheme which we only have import and specify when we wrap our app in RainbowKitProvider.
Conclusion
I hope this guide helped you with integrating RainbowKit to your React and Next.js app. It goes to show what a great job they've done to make it easier for us to create a nice and clean UI while supporting many wallets.
Hopefully you find this helpful ❤️

